From the Mobilityways dashboard, you can store and manage information about your employees or stakeholders from the contacts tab. From here you can:
- Import contacts
- See an overview of your contacts;
- Edit contacts, including deleting them.
Contents
- Importing contacts
- Manage your contacts
- View a contact record
1. Importing contacts
You can import files to create and update Mobilityways contacts in bulk.
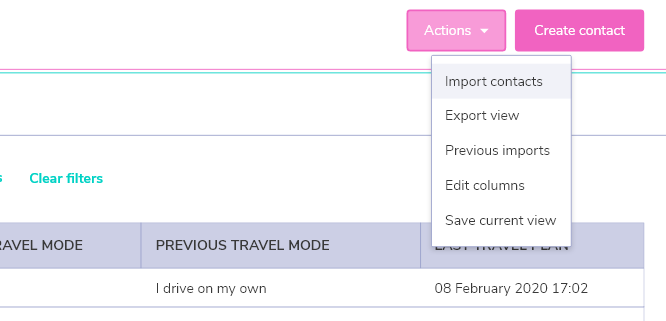
- To import contacts click import contacts from the actions menu at the top right of the screen, you will then be taken to the import wizard.
- Click choose a file and in the dialog box, select your import file.
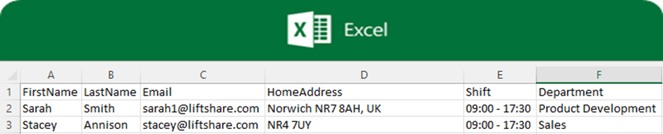
- Your contact data spreadsheet should include the following information; first name, last name, email address, and home postcode in separate columns. Shift times and departments are not required fields but are useful for categorising your contacts.
 Spreadsheet 1
 -
If you have multiple sites you will need to do a data upload per site. Create separate spreadsheets for each site and then upload them into the corresponding Mobilityways dashboard account.
 Spreadsheet 2
- If you are importing updated contacts that have previously been exported from Mobilityways, then make sure you indicate that you are updating existing records by toggling on the existing contacts toggle. Once done, click Next.

- On the Map columns in your file to your contact fields, Mobilityways will attempt to match the columns in your file to their corresponding fields based on the header names. You'll see a preview of the property values from your spreadsheet in the Preview Information column.
- If any columns do not match an existing contact field, click the corresponding dropdown menu in the Mobilityways field column.
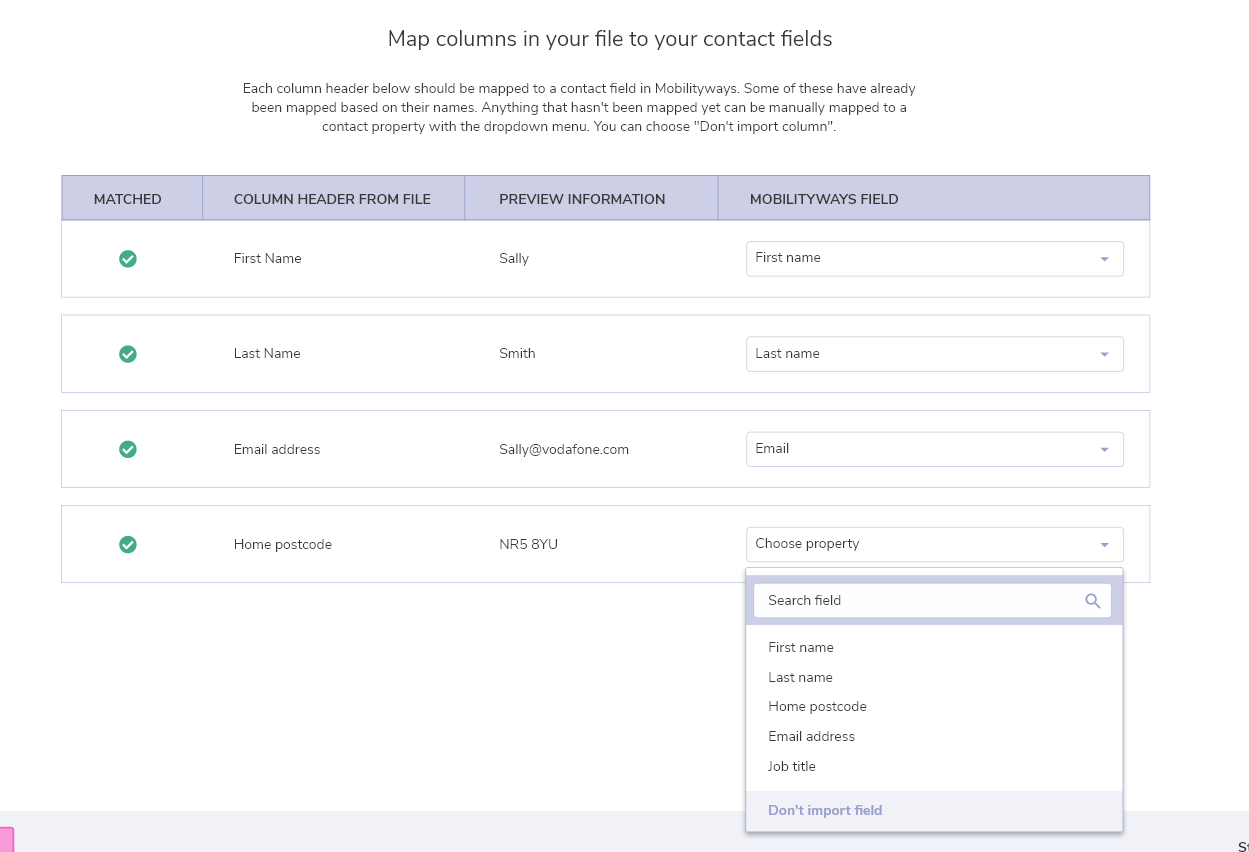
- Once all columns are mapped to contact field or set to Don't import column, click Next.
- On the details screen, enter an Import name.
- To automatically create a list when the contacts are imported, select the toggle on the Save contacts to view toggle.

- Once you've set the options for your import, click Finish import in the bottom right.
What if my import fails?
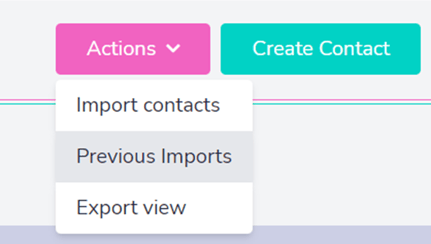
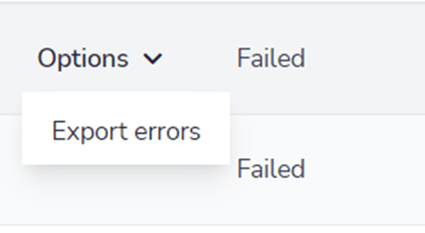
If your import fails you can see why by clicking on the pink ‘actions’ button in the top right hand side of the screen and then ‘previous imports’ in the dropdown.
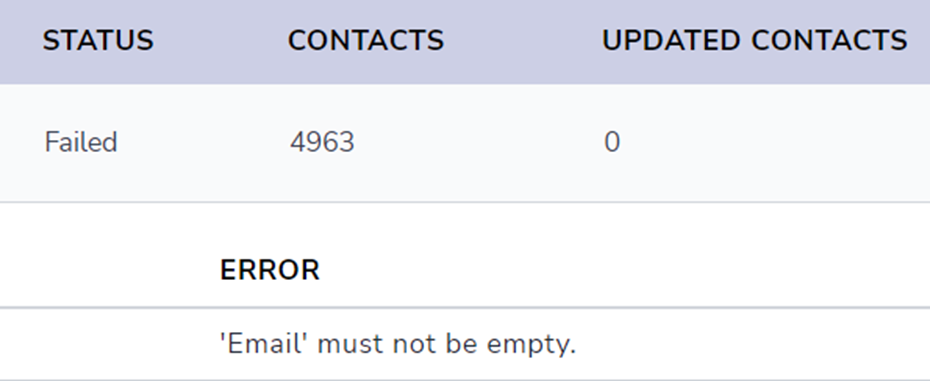
You will then be able to see an error message advising you what the problem is preventing the contact upload. In this example below, several of the contacts email addresses were missing. To rectify this you would need to filter out the blanks in your spreadsheet and then re-upload.
2. Manage your contacts
- In your Mobilityways account, navigate to Contacts.
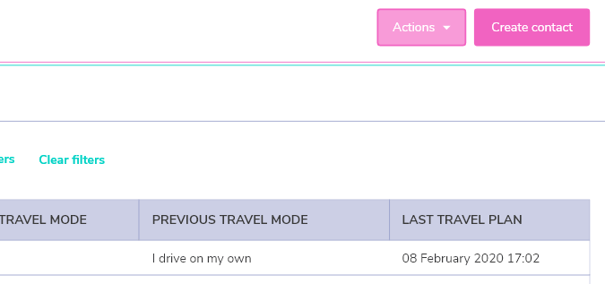
- From the upper right-hand section of the screen, you will see the Action button, the action button will give you access to several important functions of the contact management process, including the ability to:
- Import or update contacts in bulk
- Review Previous imports
- Export contacts to excel.
- Create contact: by clicking create contact.
- Access and edit a contact record by clicking into the contact name from the contact table
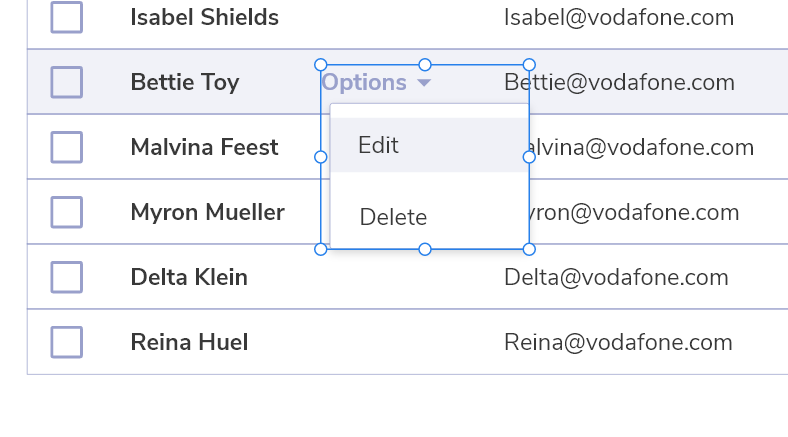
- Delete a contact by hovering over the record and selecting delete contact from the options menu.
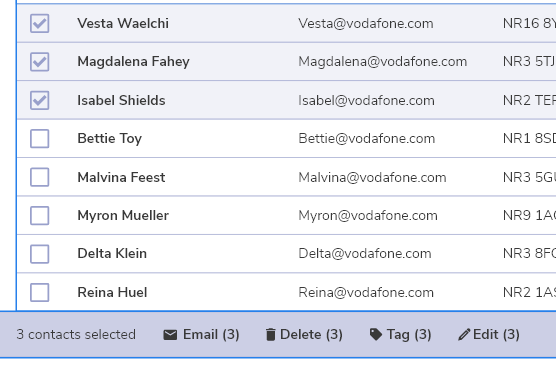
- Deleting contacts in bulk by filtering then selecting the contacts to remove, then select delete from the bulk options at the bottom of the screen.
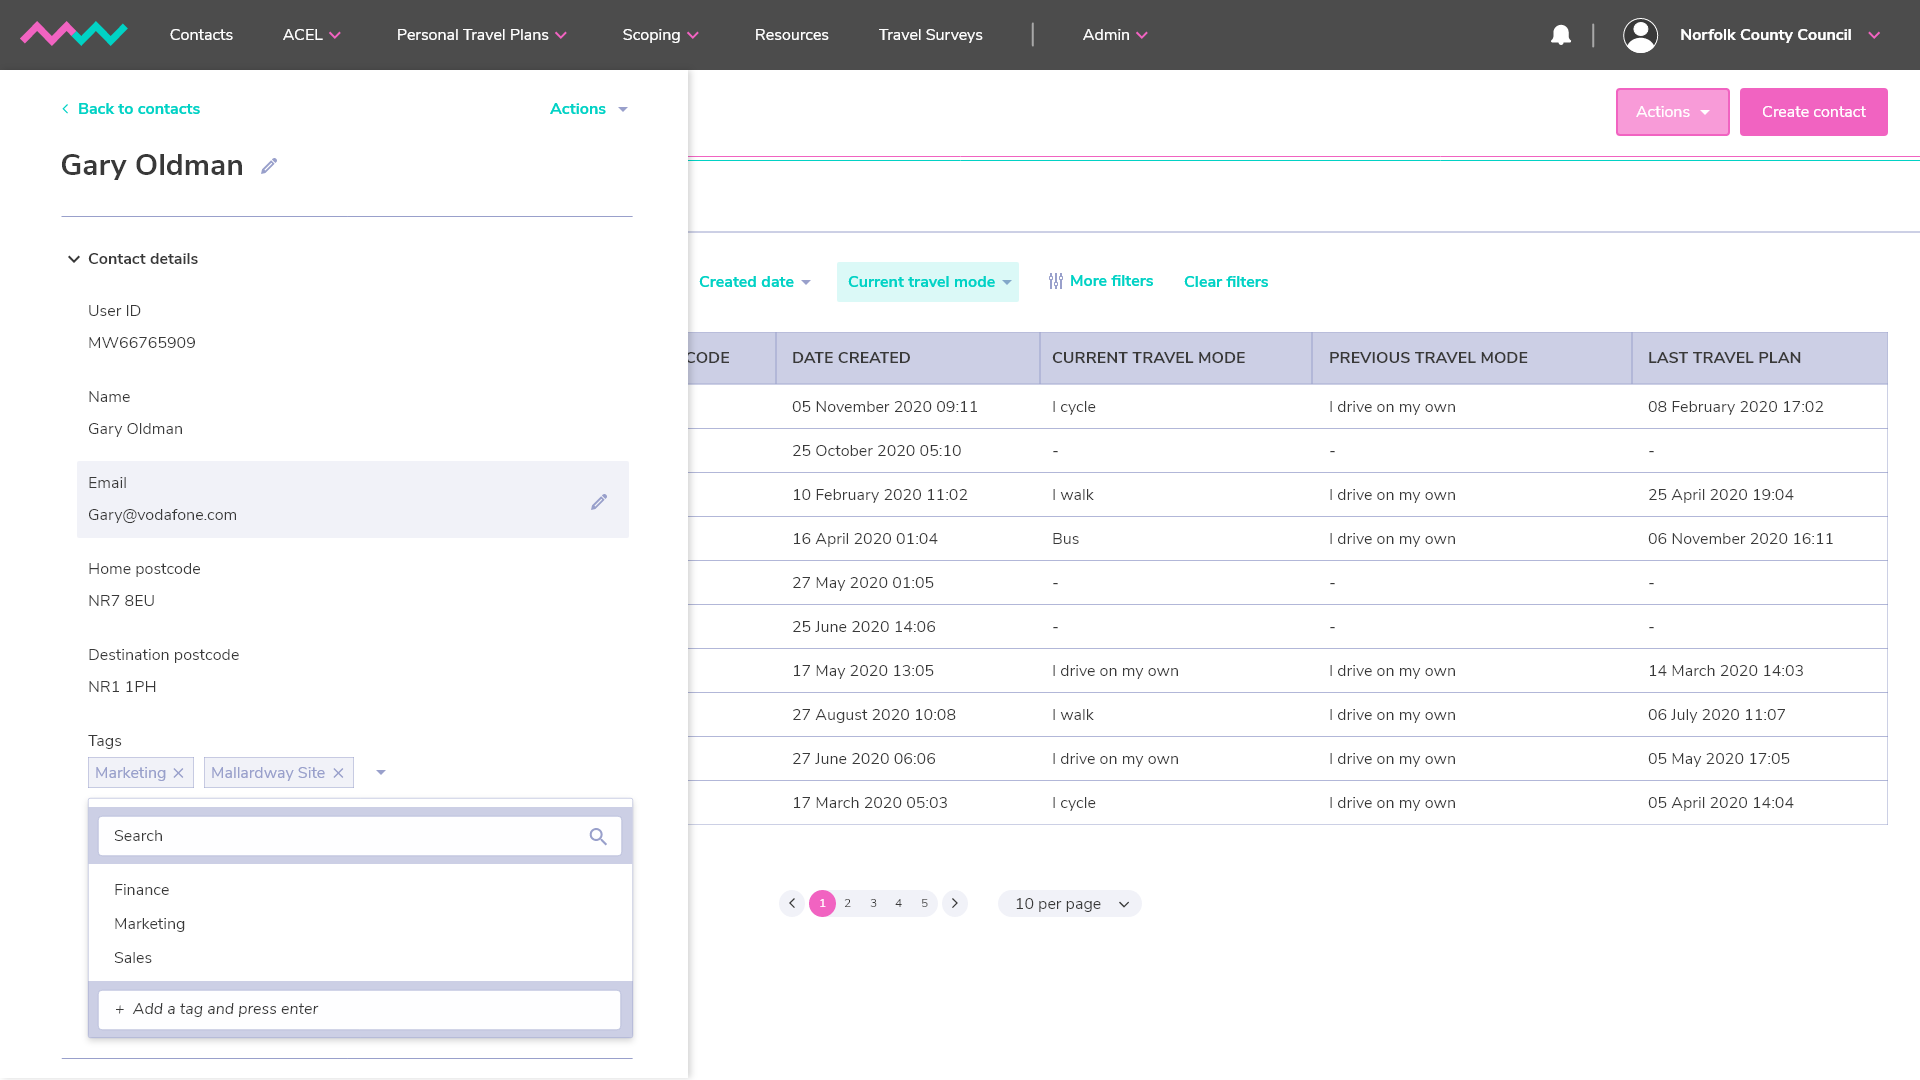
3. View a contact record
- In your Mobilityways account, navigate to Contacts.
- All contacts will be displayed in a table. To locate a specific contact, you can enter search for their name or email address in the search box.
- To record or retrieve information on a contact, click the contact's name. Once the modal appears you can edit or update your contact details.
- To view a different number of contacts on the same page, at the bottom of the page, click [Number] per page and select to view 25 per page, 50 per page, or 100 per page.